.webp)
Take Better Shots Everywhere
Photos for reports often have little room for optimization or creativity. But small tweaks to technique can make a standard observation pop, and better photos lead to more informed colleagues, clients, and regulators.
Use these basic tips to boost your professional field site photos—and level up your next t-ball game or vacation shots too!
Keep it Light
Sunrise & Golden Hour
Site visits happen when scheduled, and the light you’re dealt with is what you get. But if you have control over taking photos on arrival vs. before departure, choose the one closest to dawn or dusk.
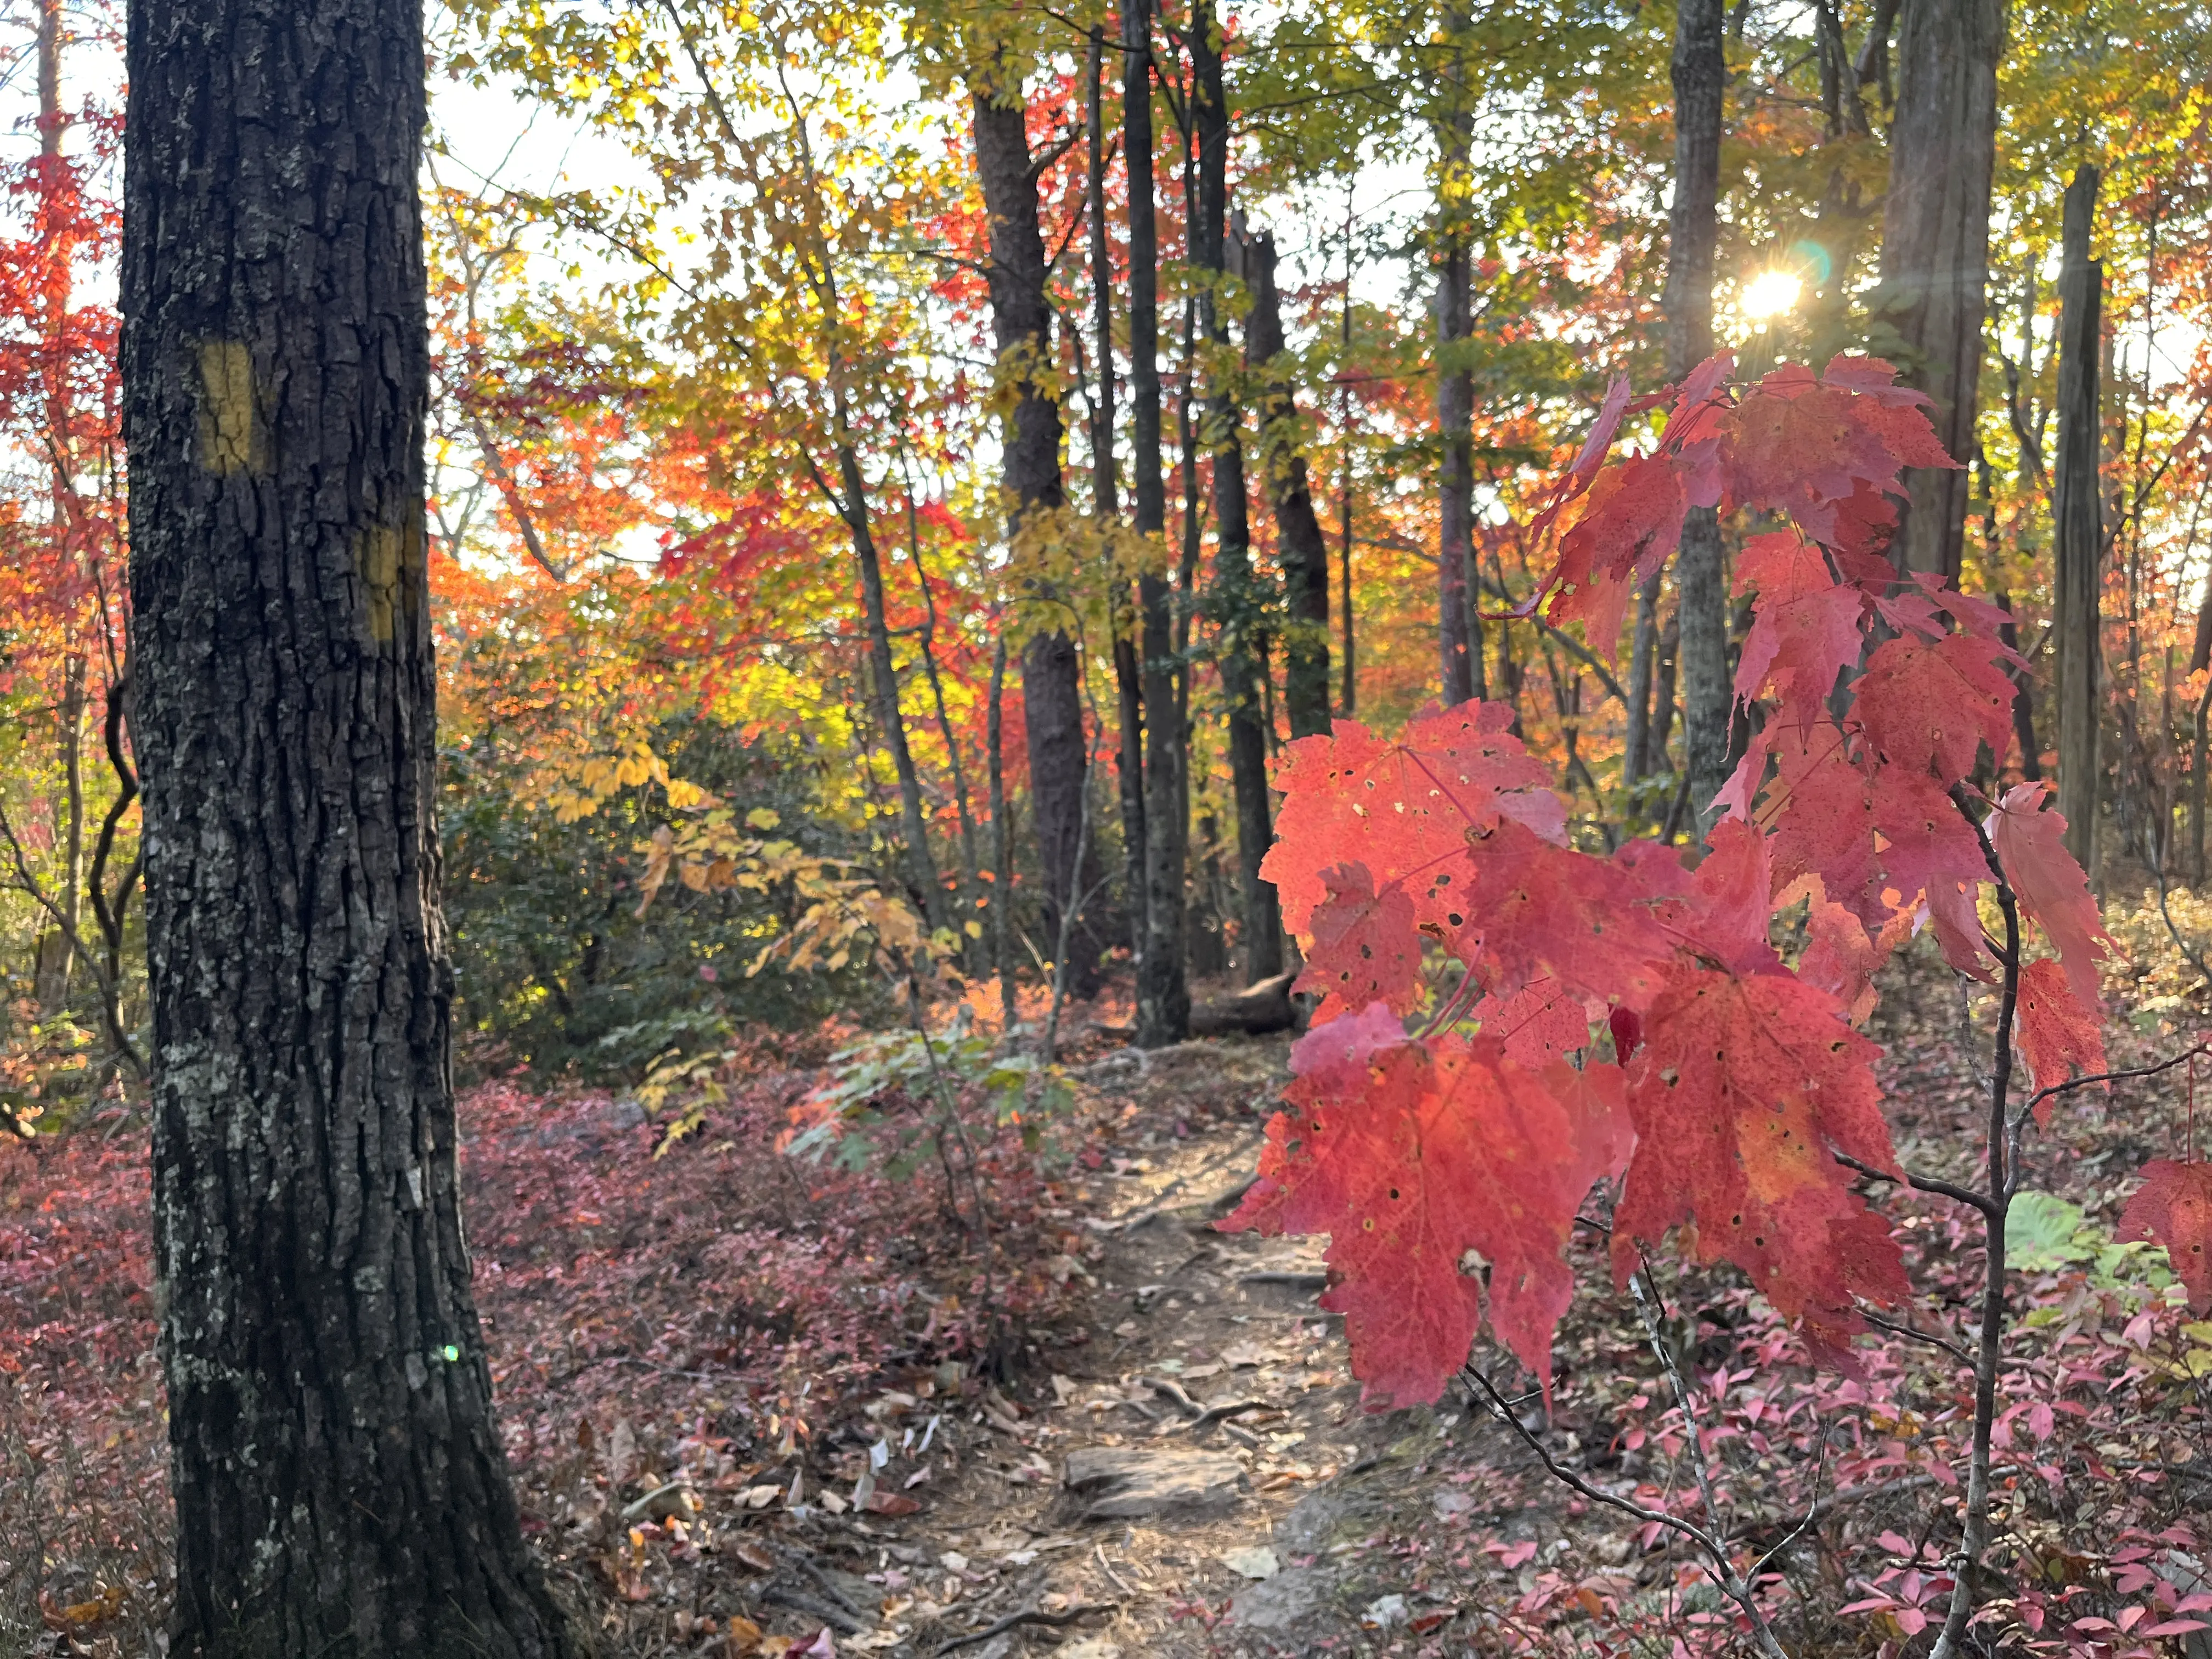
Colors Love Clouds
It may seem counterintuitive, but colors appear richer on cloudy days or in the shade. If you’re trying to communicate the hue of something, try to cast a shadow over the area or wait for a cloud to pass - this is true for using AI to identify a wildflower too!

Frame the Shot
One Subject
Identify one clear subject per photo to communicate effectively. Whether it’s vegetation, a landmark, or site features, make your subject the star.
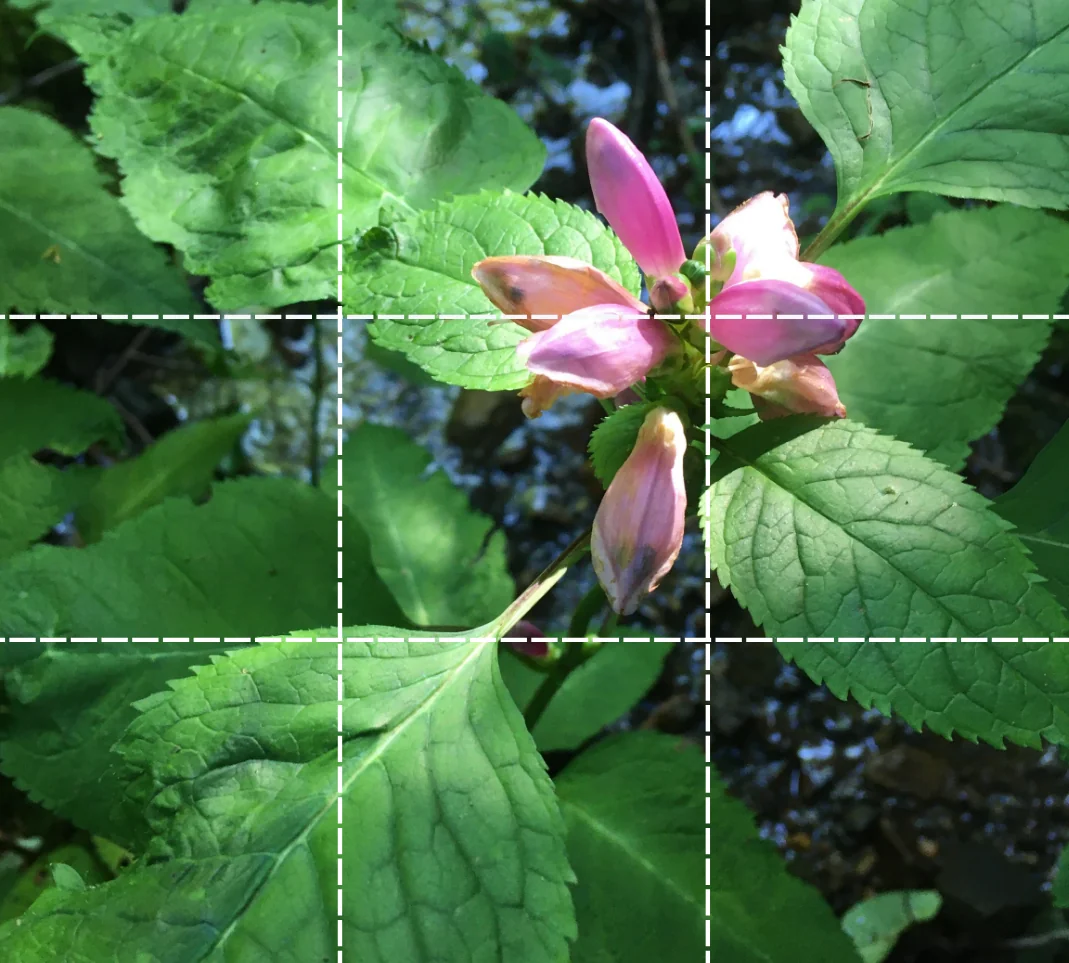
Rule of Thirds
The 3x3 grid overlay on your device is trying to help! Place the subject at intersections rather than centered.
Horizon
An extension of the rule of thirds - horizons usually look best placed at 1/3 from the top or bottom, rather than dead center. Is the sky or terrain more interesting? Let that portion take up 2/3 of the shot. Or, for extra drama on a stormy day, take note from Dutch renaissance landscapes and drop the horizon to the lower 1/5.

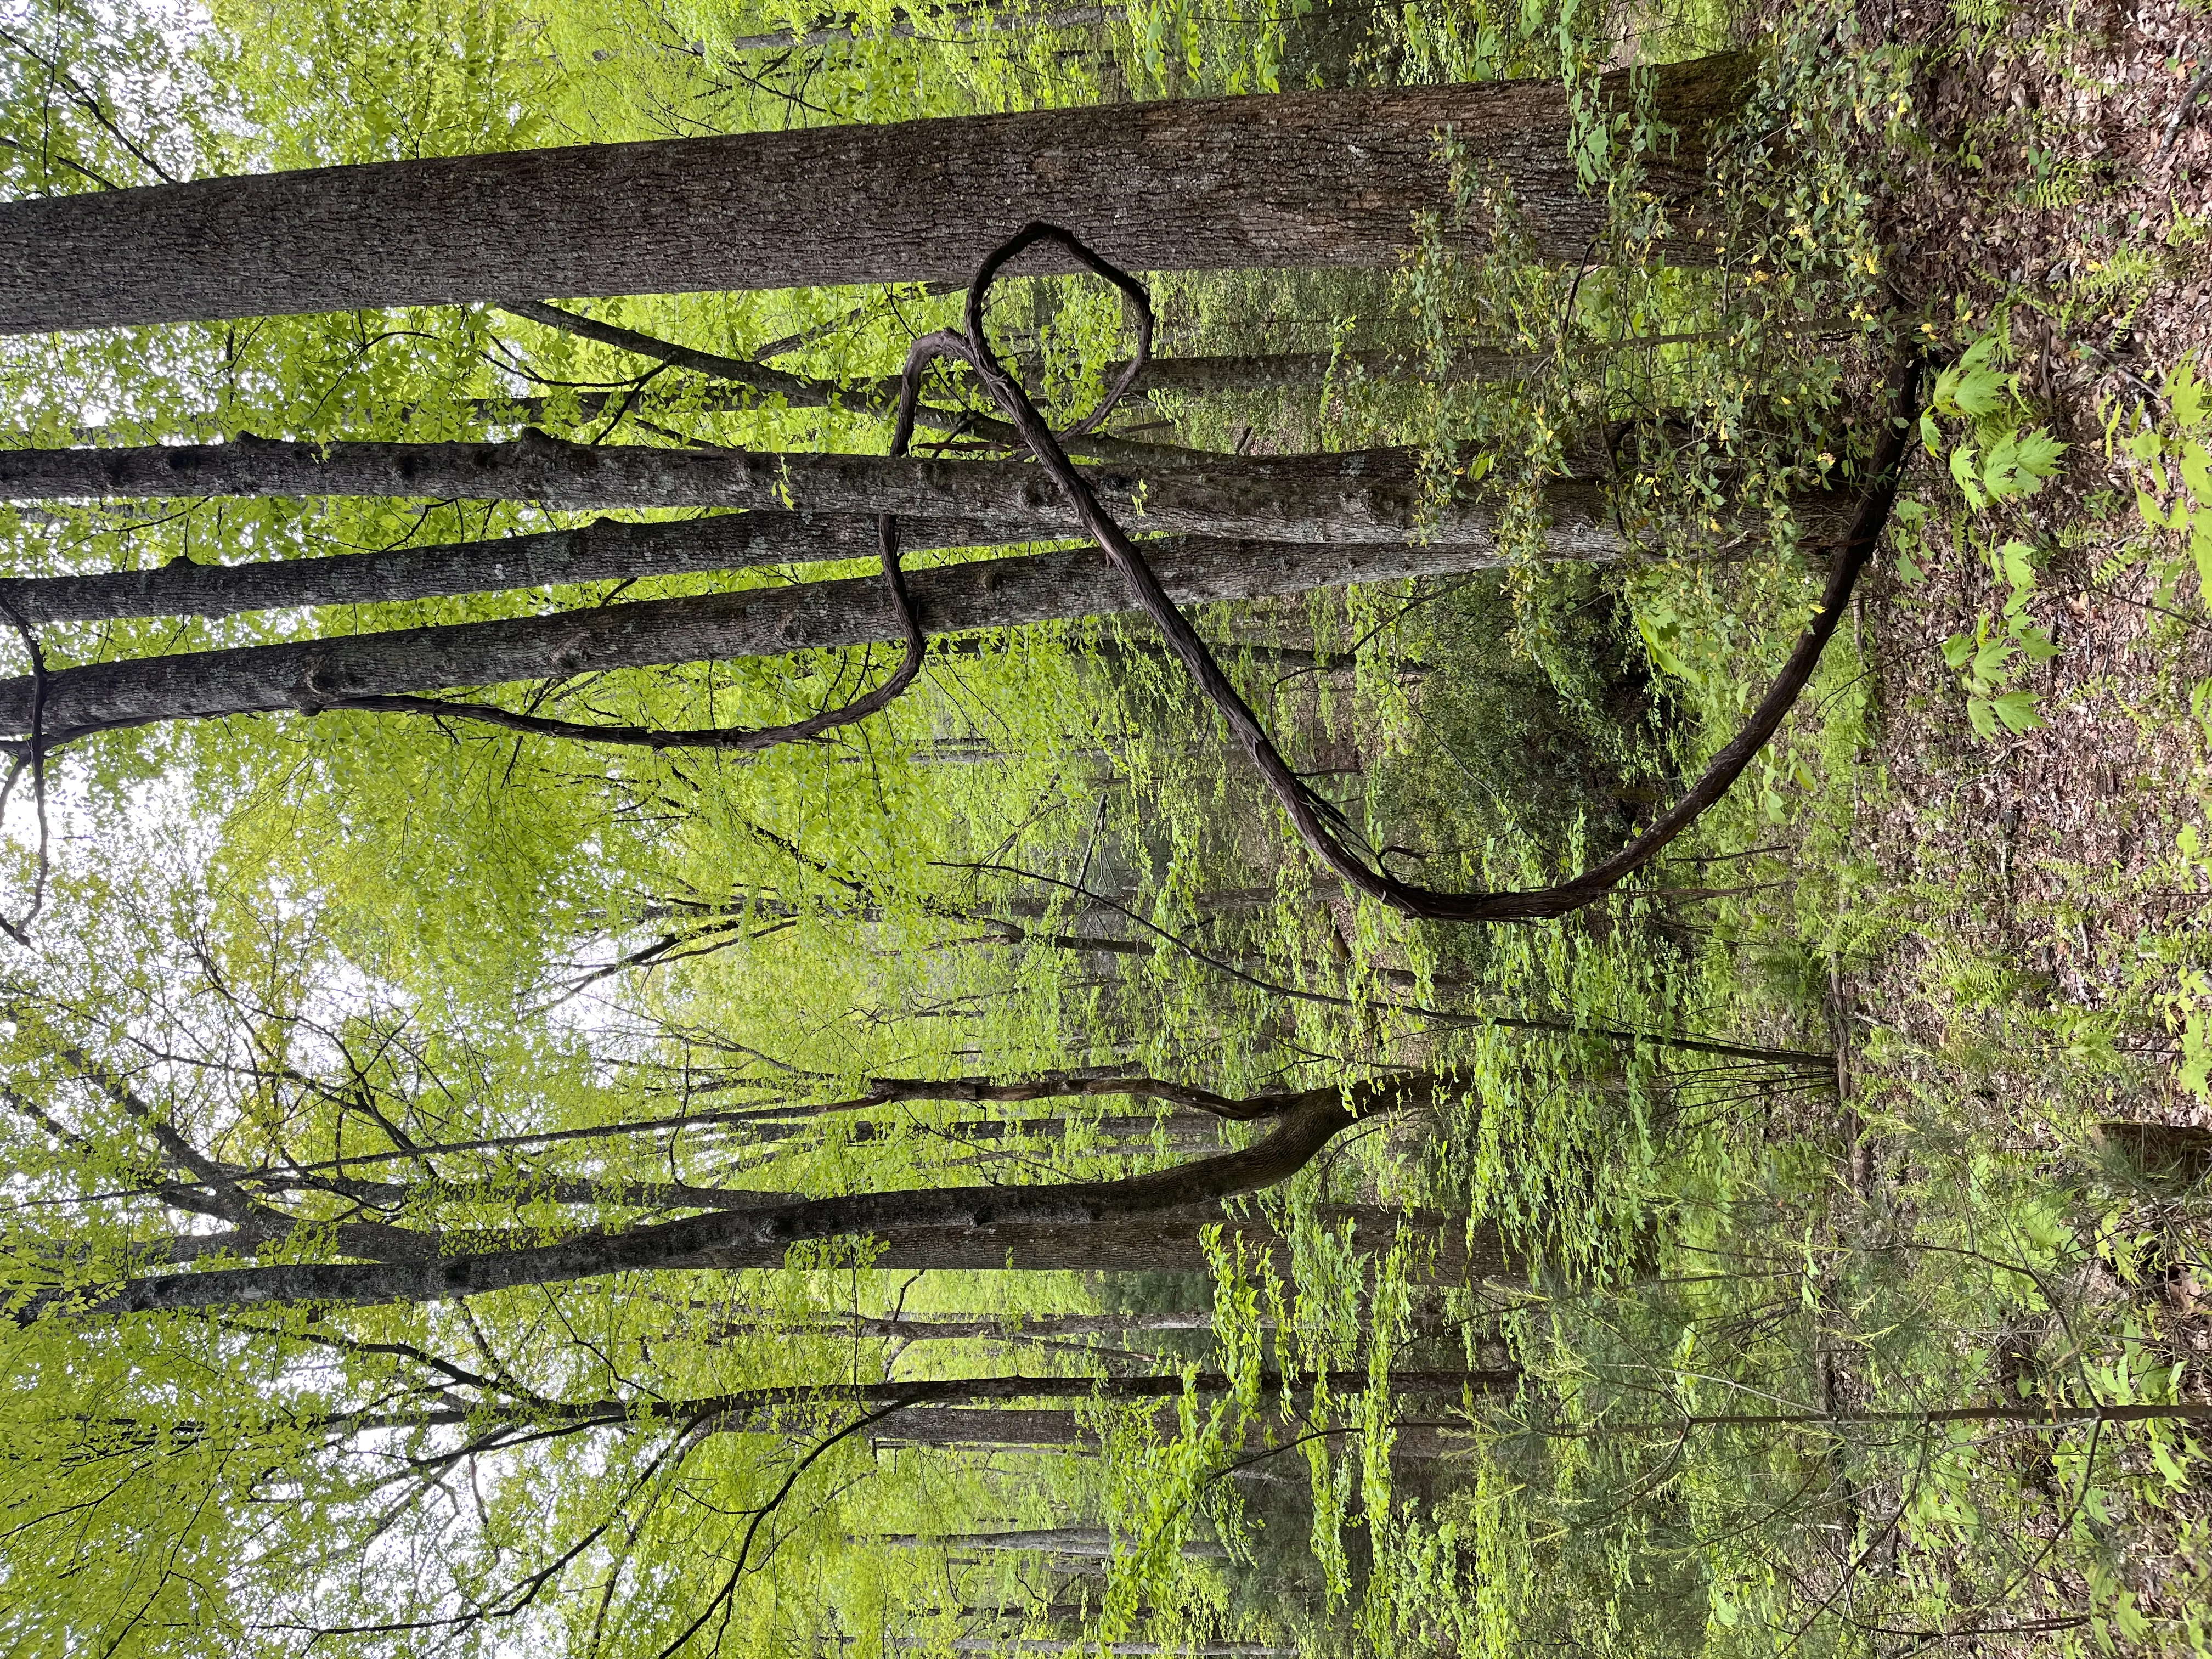
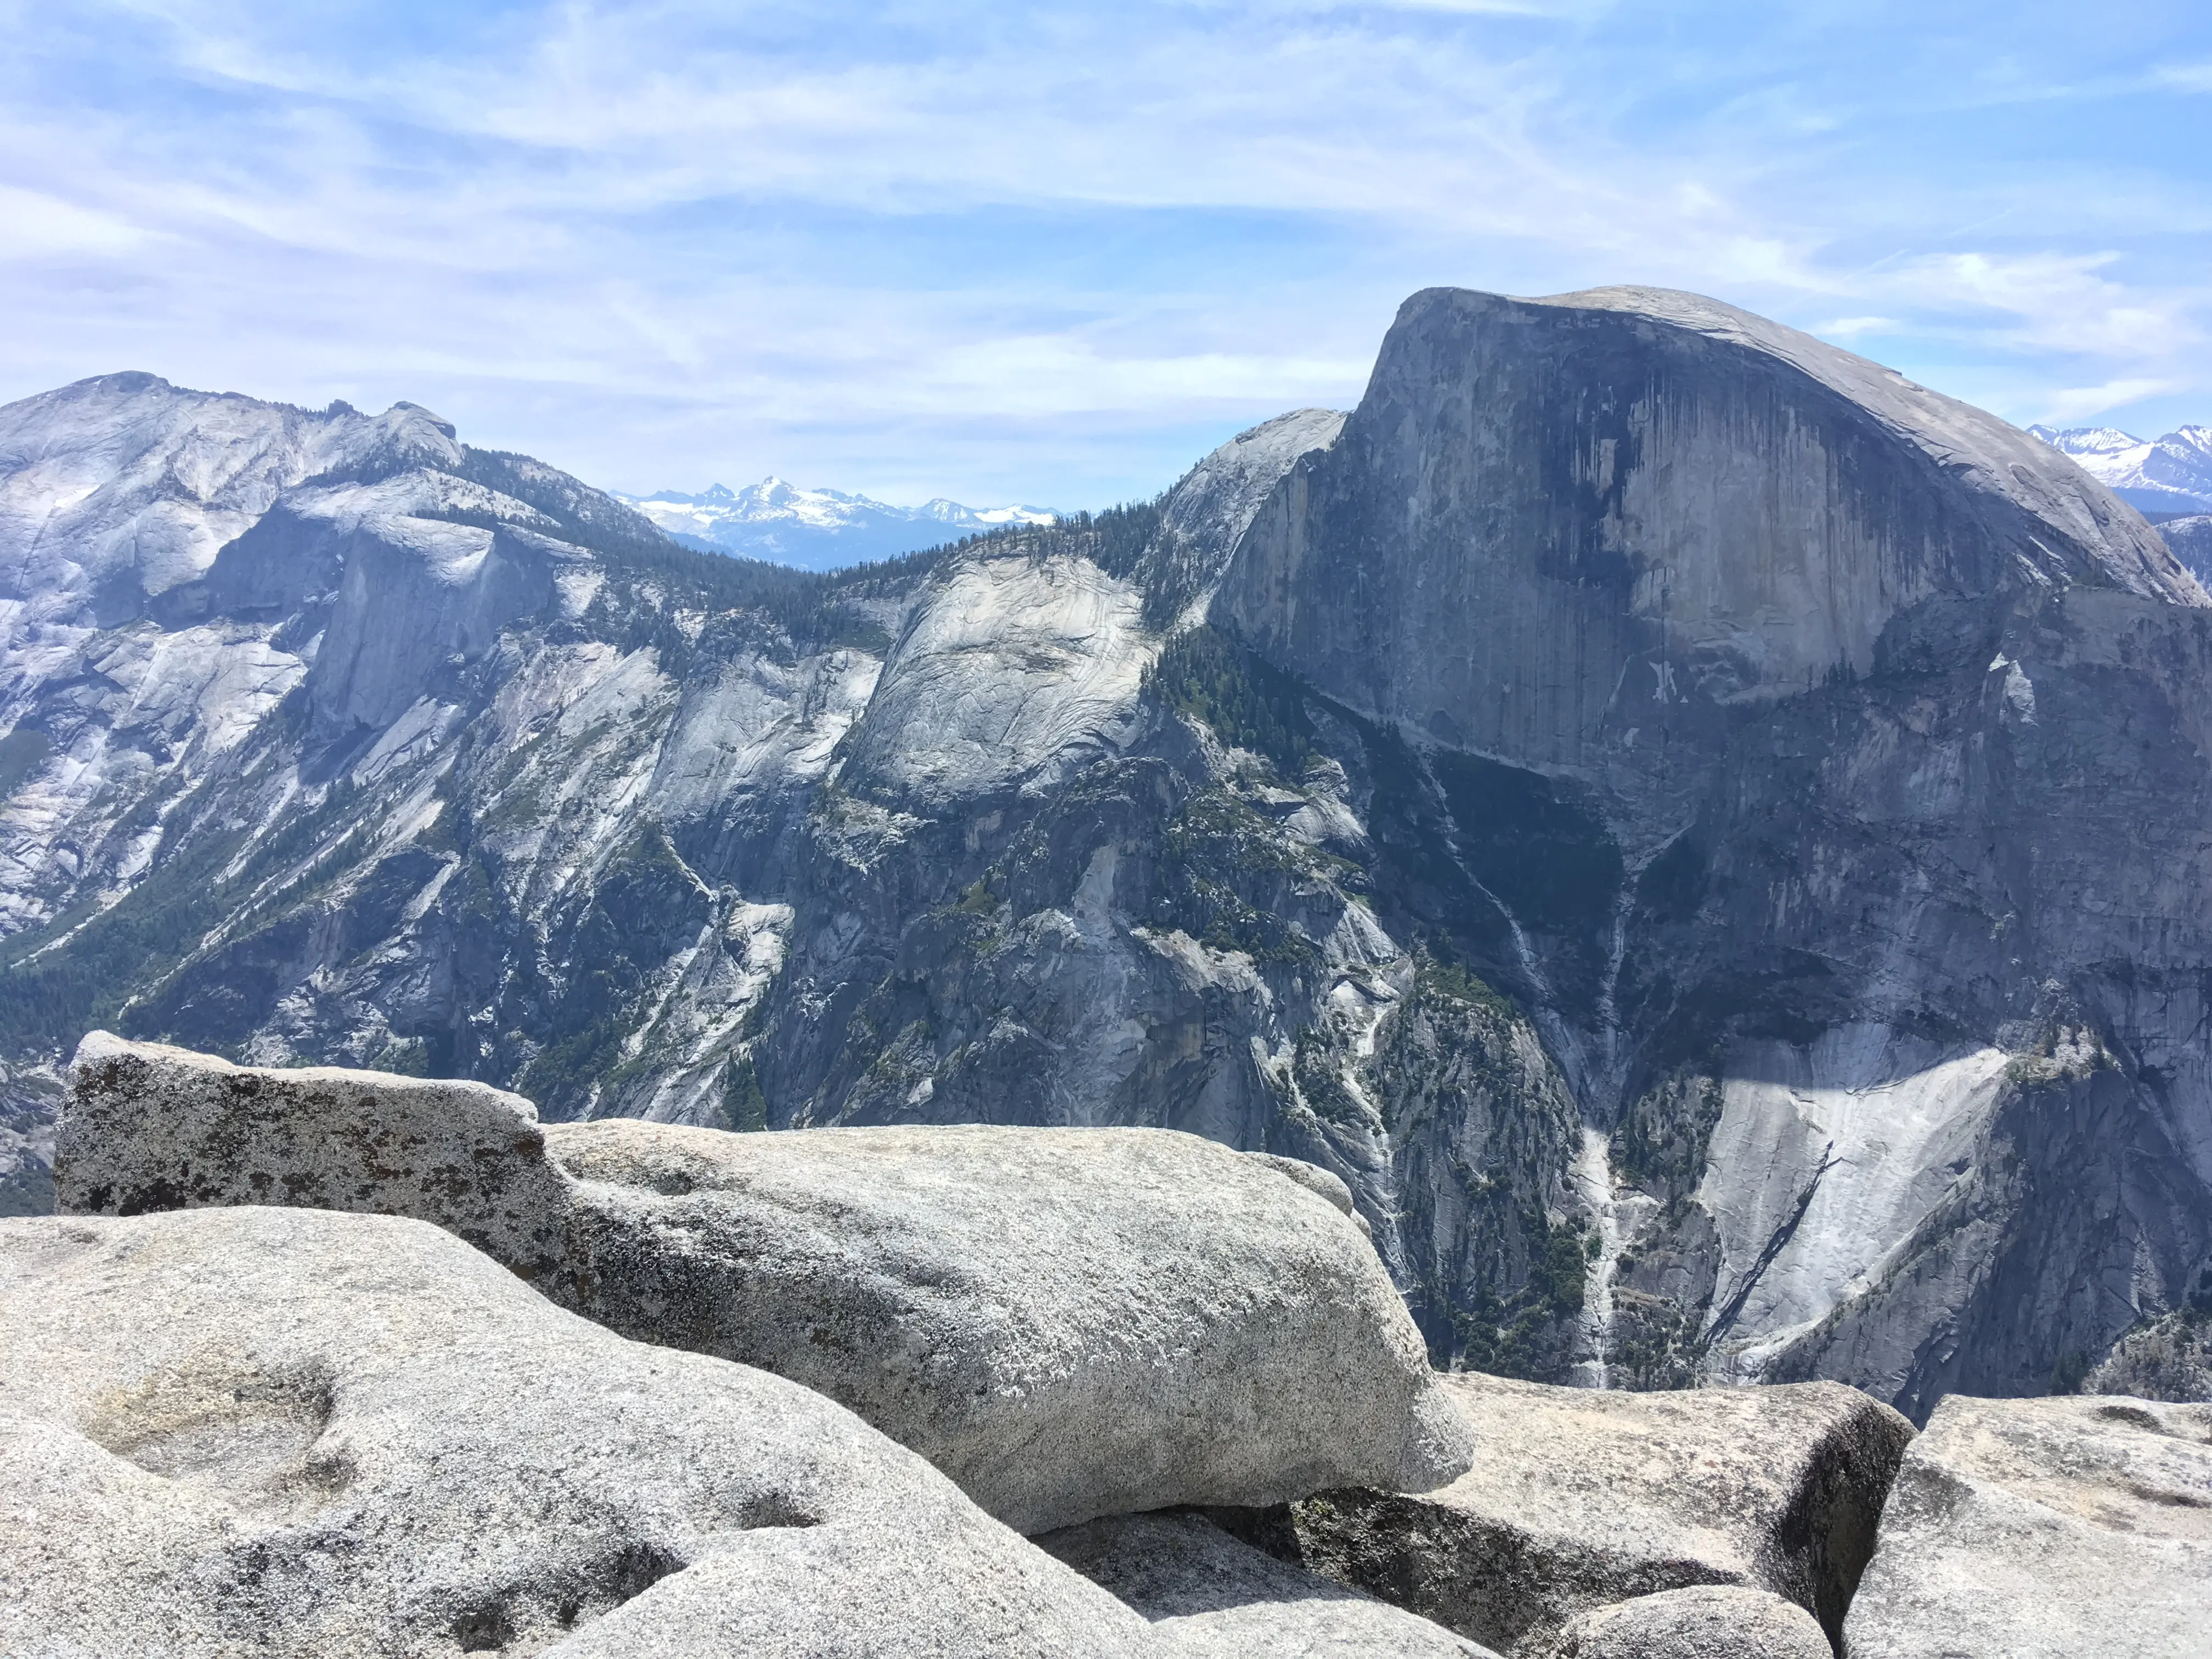
Step Back
To level up your landscapes, include a foreground element to provide context, scale, and visual interest.
Perspective
Move Yourself
The easiest way to take your image from basic to notable is adjusting your position or sightline. Capture better lighting, clearer subjects, or more compelling perspectives by moving your own position or the direction of your gaze.

Subjects in Motion
Subjects in motion can be challenging - looking at you peregrine falcon or toddler on the move - but a simple trick can pay off: give them somewhere to go. Car ads, athletes, and wildlife are portrayed more naturally when granted a space to travel into within a photo (or video) shot.

Contrast is Key
Make it pop. Leverage contrast in color, tone, or texture to add visual interest. Consider where you’re positioned to make the most of the light and background options. 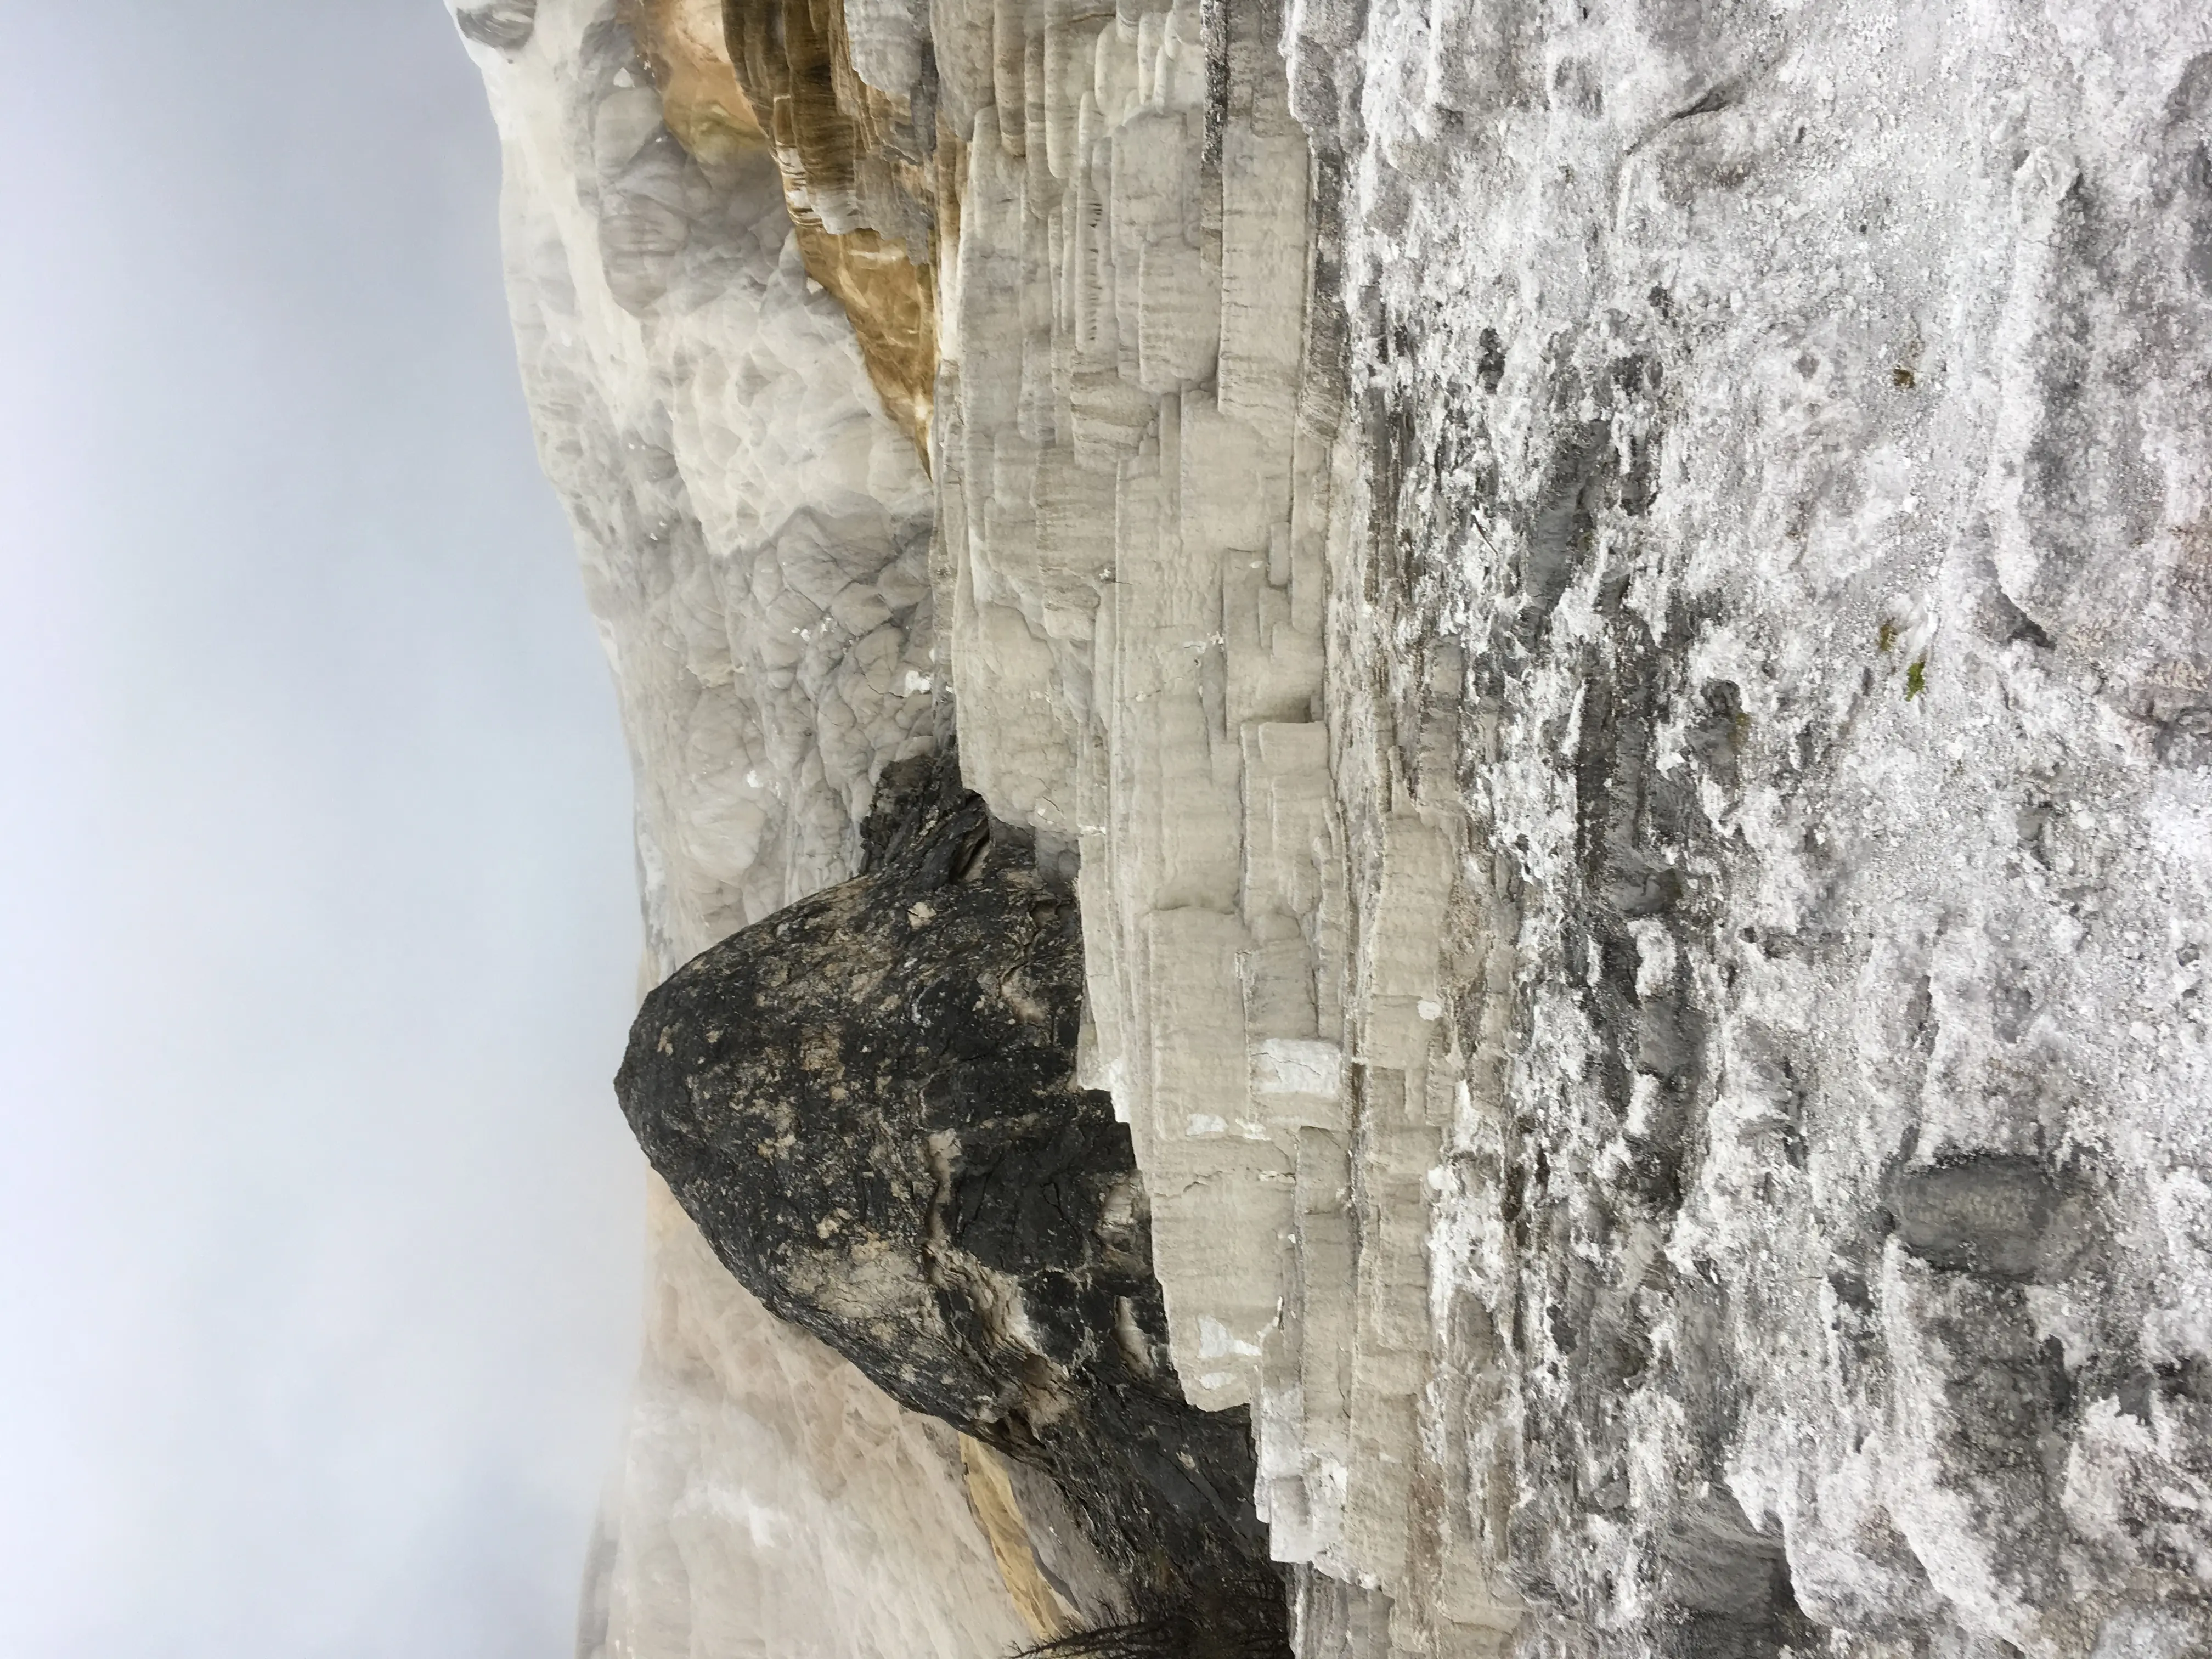
Streamline Your Site Visuals
Creating high-quality site photos and detailed photo logs used to be tedious, requiring the time-consuming manual transcribing and copy/pasting photos into log templates.
Fortunately, creating photo logs has become a lot easier, thanks to digital data recording, photo capture, and automated logs within one platform, accessible via mobile device and web browser. Let’s dig into best practices for taking photos at your job site and beyond, and how to consolidate your photo log workflow using Ecobot.
Consider Your Audience
Establish team standards for what to capture to ensure consistent quality. These could change based on the project type, client, etc. but it’s great to have a baseline of what to include by default.
Key Elements to Capture:
All Projects
- Cardinal directions at each sampling point (label clearly)
- Manmade structures, roads, debris, wells (note location relative to site)
- Unusual or unexpected site features valuable to clients or regulators
Wetland & Stream Projects
- Key hydric soil/hydrography indicators
- WOTUS connections
- Prominent wetland vegetation species
Great field photos can prevent repeat site visits! Erring on the side of caution and capturing more than the minimum can come in handy later.
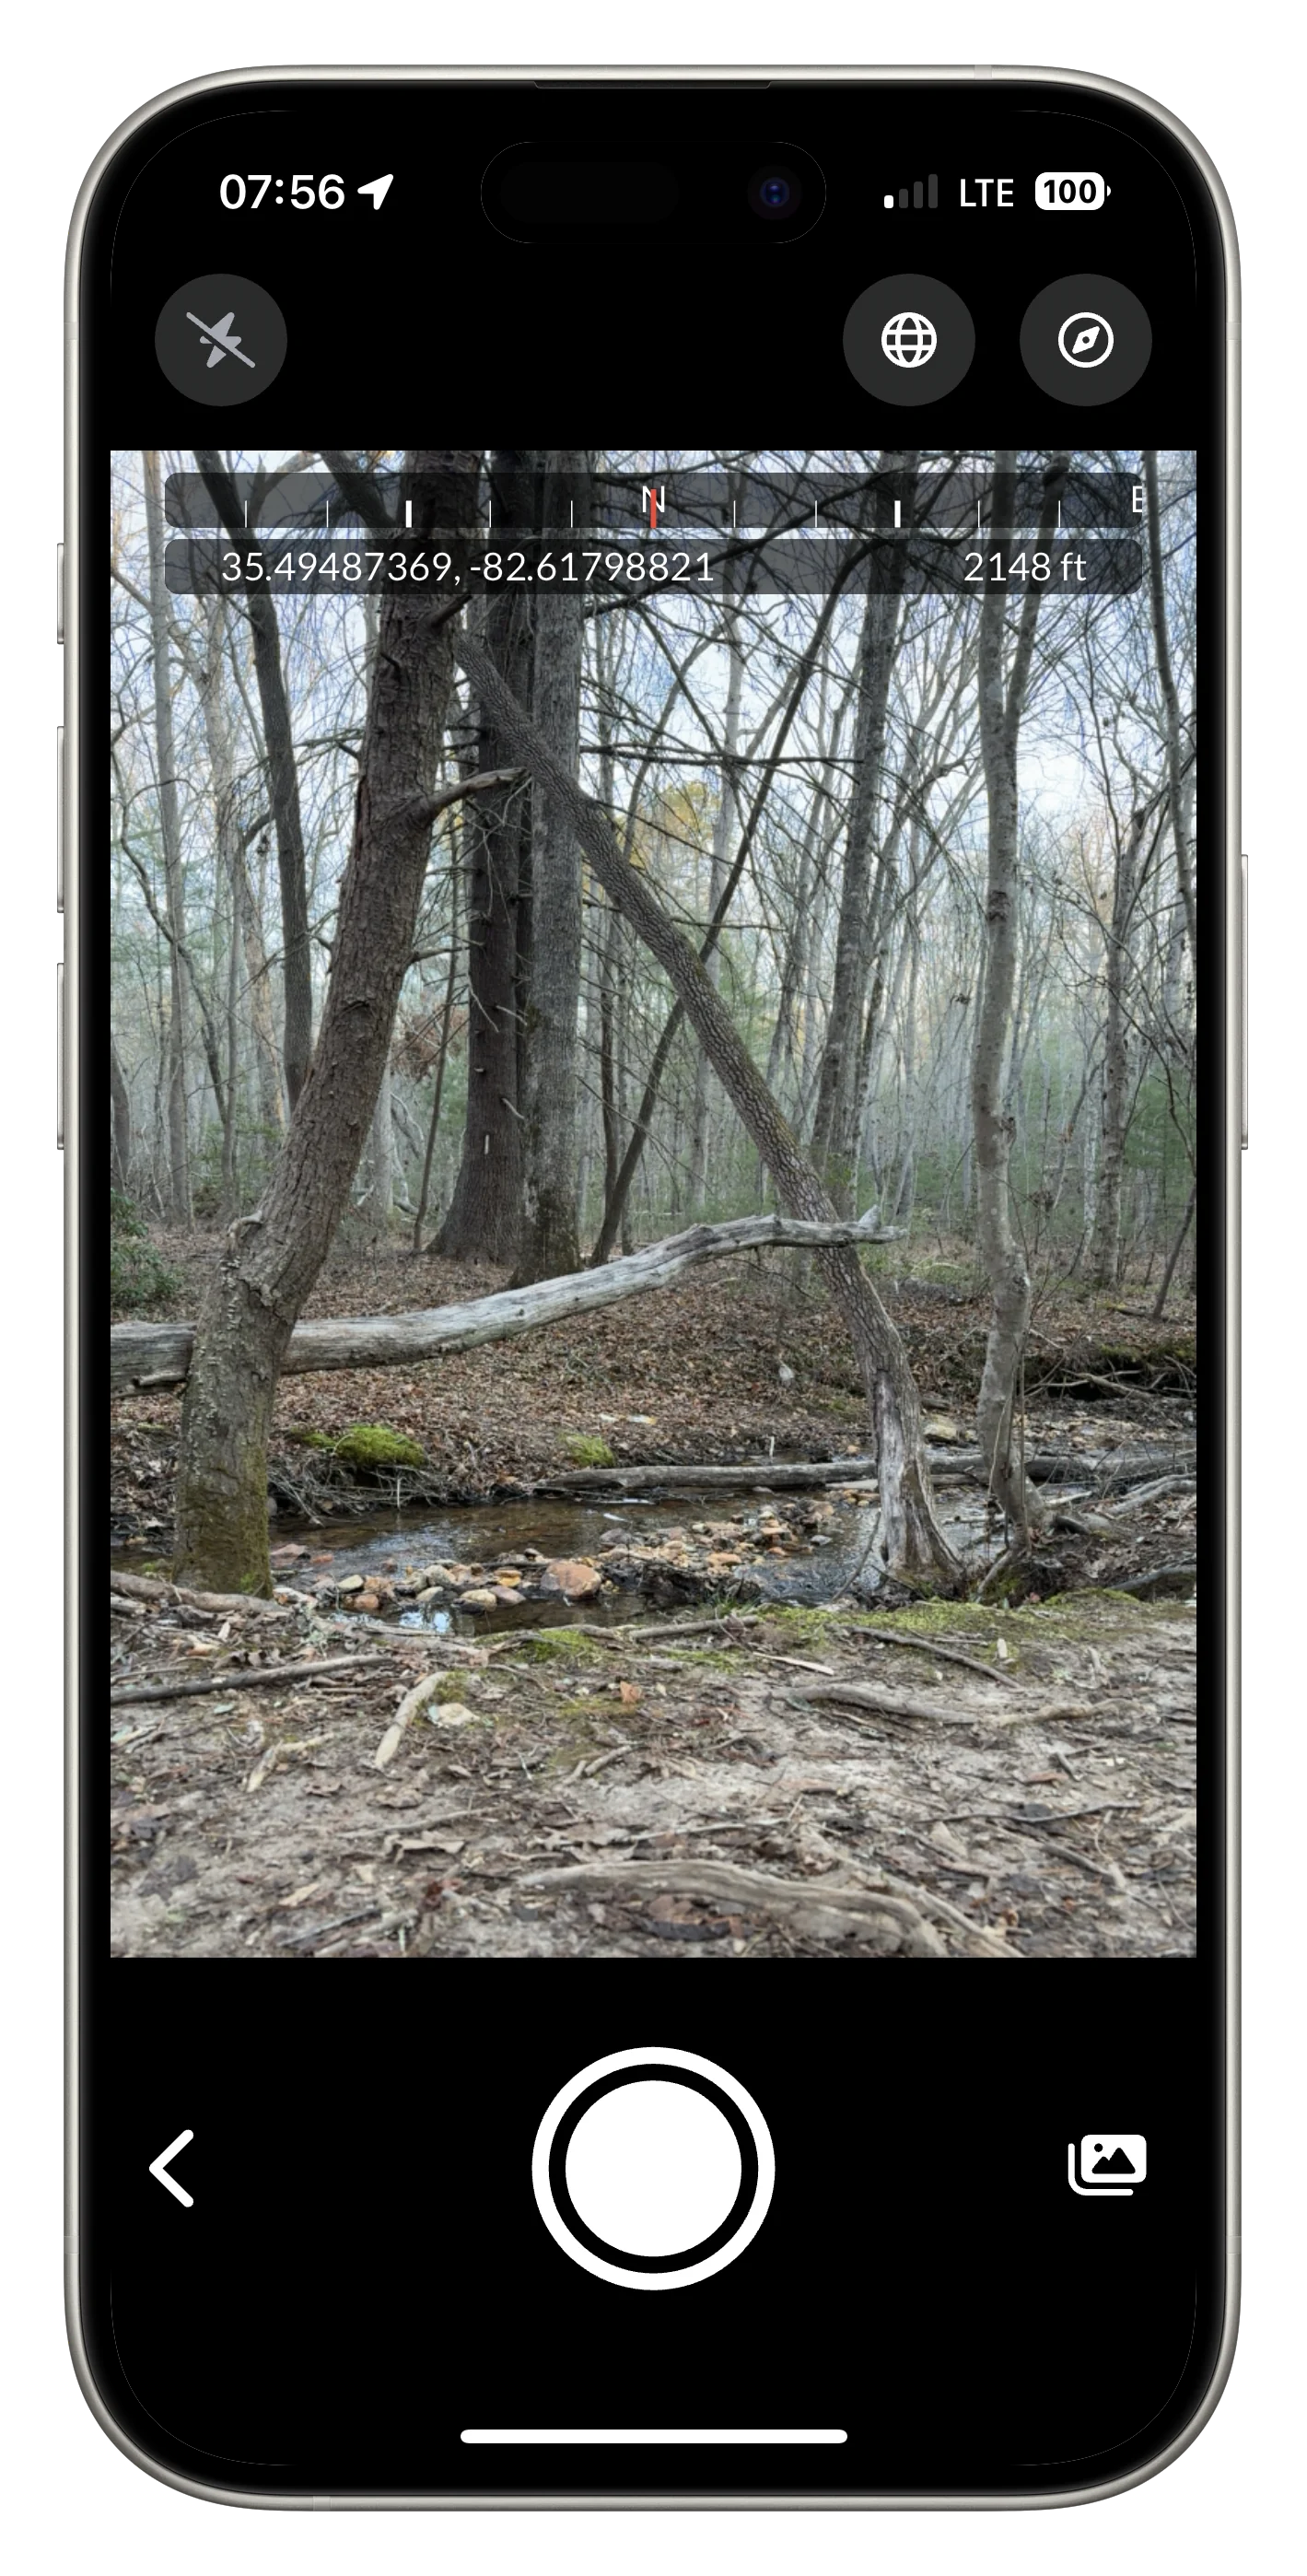
Optimal Photo Quality: Resolution and File Size
Photo quality is getting better over time, which means file sizes are getting larger. Most mobile device cameras take high quality photos that take up a lot of space (12MB - 48MB per image) and are slow to transfer in large batches. While high resolution photos are beneficial for advanced editing and printing large format photos, these file sizes become cumbersome for day-to-day business.
For submission to a client or USACE, a photo with about 250 pixels per inch (roughly 1MB of storage) is sufficient for printed or digital crisp photos in a photo log for delivery.
To ensure a great experience for customers without sacrificing on quality deliverables, Ecobot scales photos to about 1MB of storage per image. This achieves an ideal middle ground with the benefit of timely syncing of images between mobile devices and the cloud, while simultaneously retaining enough of the image to create a crisp photo log for digital and print delivery to regulators and clients.
Simplified Photo Log Workflow
Ecobot photo capabilities enable a streamlined experience for all stakeholders:
- Taking photos directly within each data point automatically links them to that point.
- Metadata such as lat/long, direction, and elevation are automatically captured and stored for display on logs.
Creating Effective Photo Logs
An organized photo log is a valuable visual companion to a field data sheet. Including vital standardized information with each photo expedites reviews, informs colleagues and clients, and builds a reputation for quality thorough project delivery.
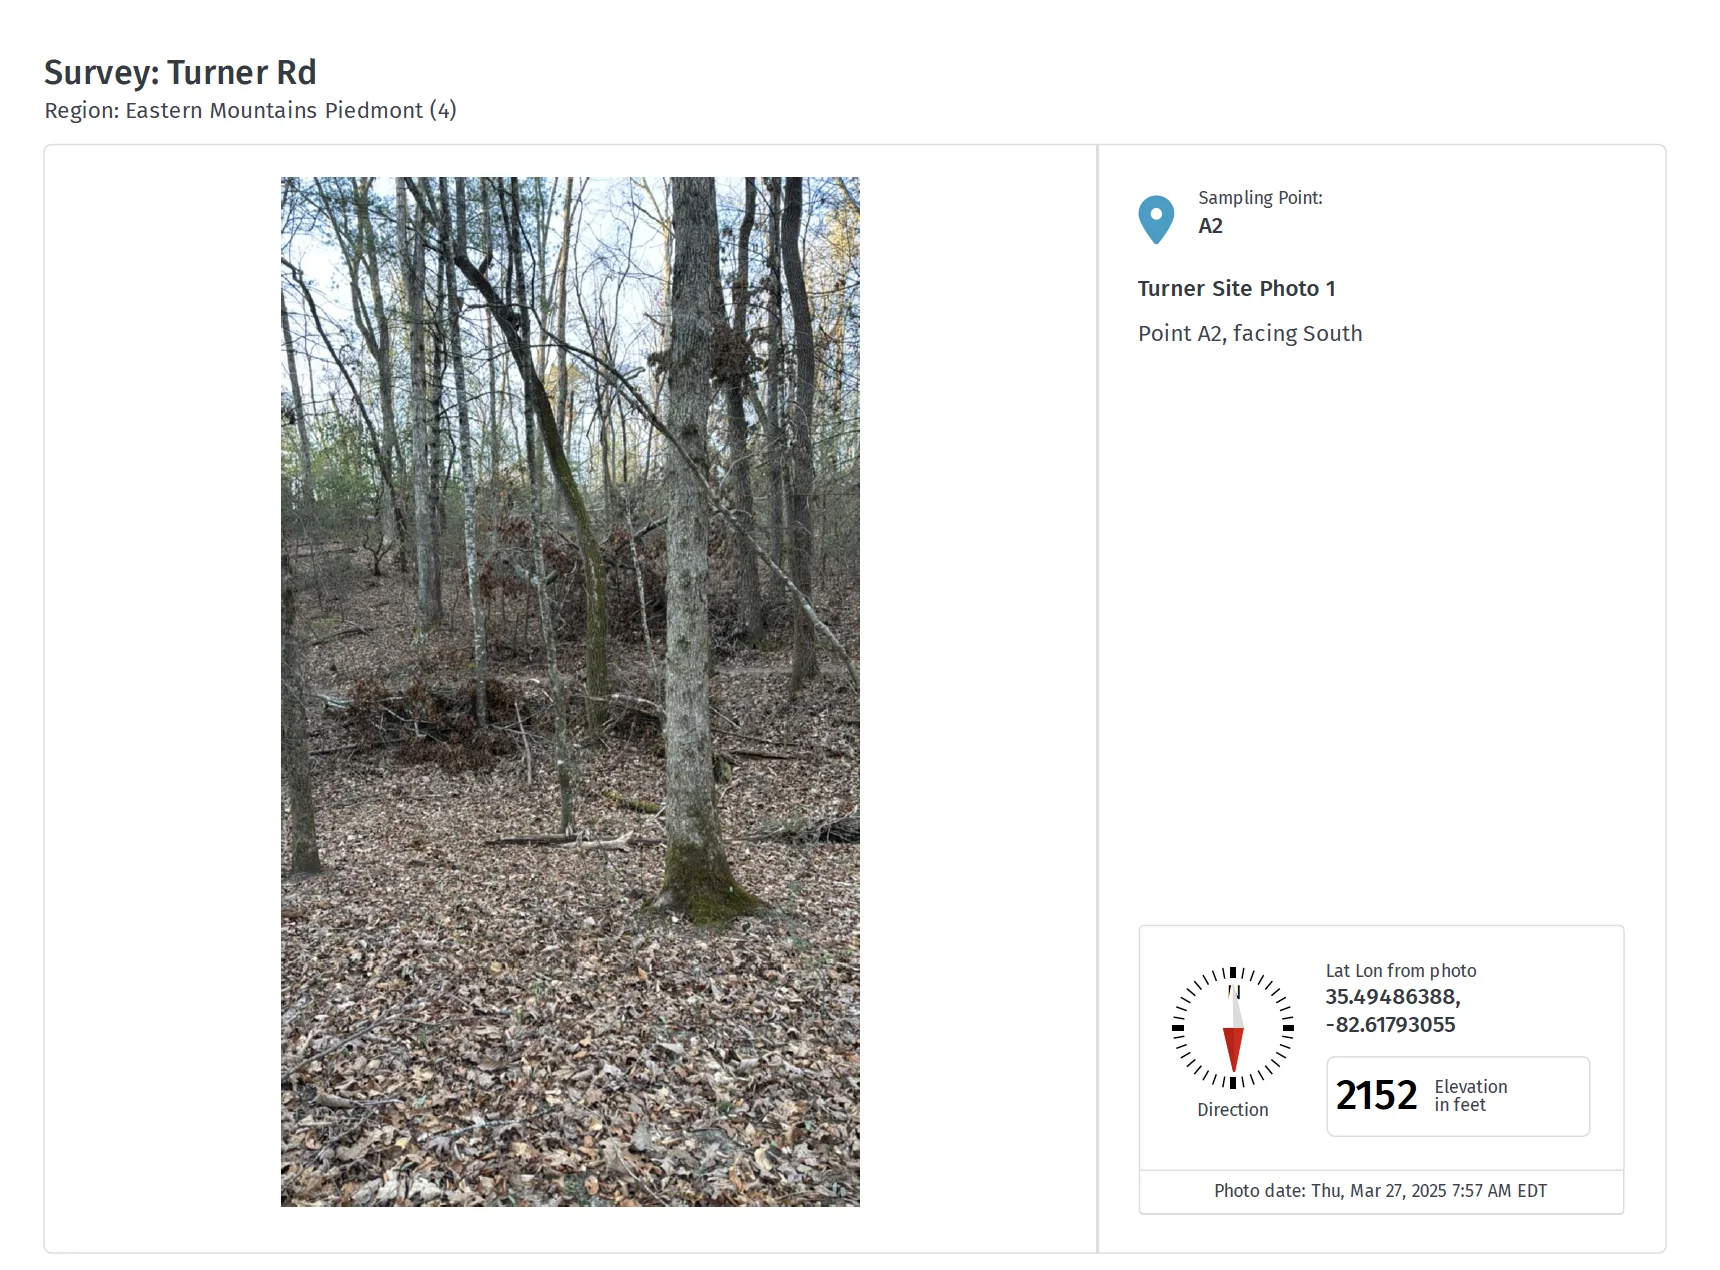
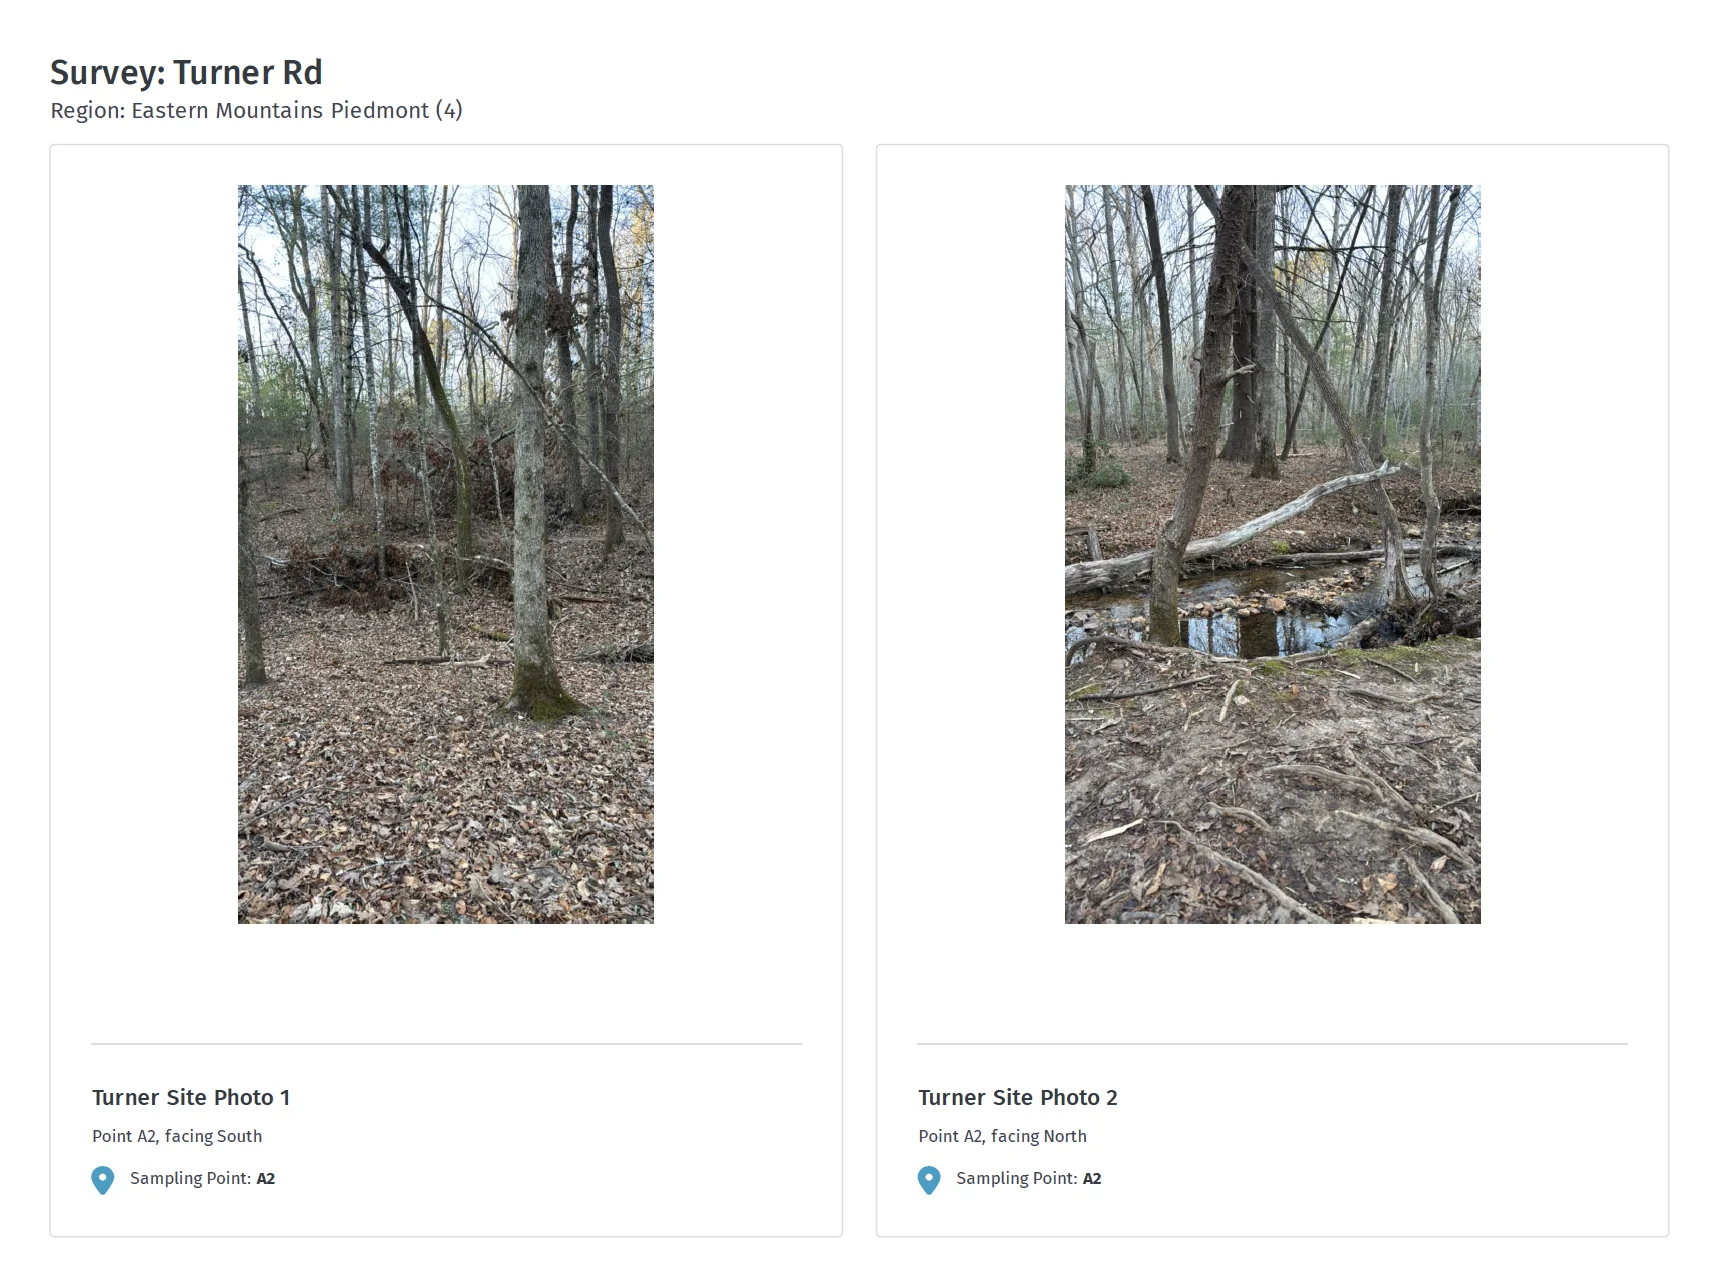
Logs are delivered as PDFs in Ecobot, and can be downloaded or printed as needed. There are two formatting options - basic and detailed.
- Detailed Format (2 photos per page; all metadata included)
- Basic Format (4 photos per page; key metadata included)
One environmental team is generating photo logs 3X faster with Ecobot than their previous method. Learn how in the case study.

