You can now map and name multiple wetland polygons on the fly, and use the built-in map to navigate between sampling points. Instantly generate Esri ArcGIS-ready points and polygons. With no manual effort, map features collected in the field can now be dropped directly into ArcGIS Pro or into other GIS software that can import Esri shapefile formats.
One year ago, Ecobot was excited to announce our partnership with Esri. Our combined efforts are now baring fruit with enhanced offline mapping functions and ArcGIS integrations available within Ecobot’s version 2 release this week.
Here’s how to use it:
- Define Your Project Area
When creating a new project, tap the “Map: Define Project Area” button to download the aerial photos as a basemap from Esri. Zoom in to include all of your project area plus any buffer you may want to download as well. Everything inside the yellow box will be collected for offline viewing. Note: you need to be connected to data when collecting these basemap files.
If you have existing projects in Ecobot that you now want to add wetland areas to as polygons to export to GIS software, you will need to first collect your basemap. To do this, simply click on the “Add Wetlands Boundary” button beneath the “Add Sampling Point” button. You will be first prompted to download the shapefiles of the aerial photos in the defined area (in the yellow square). To add a wetland boundary, we will walk you through the steps in the app.
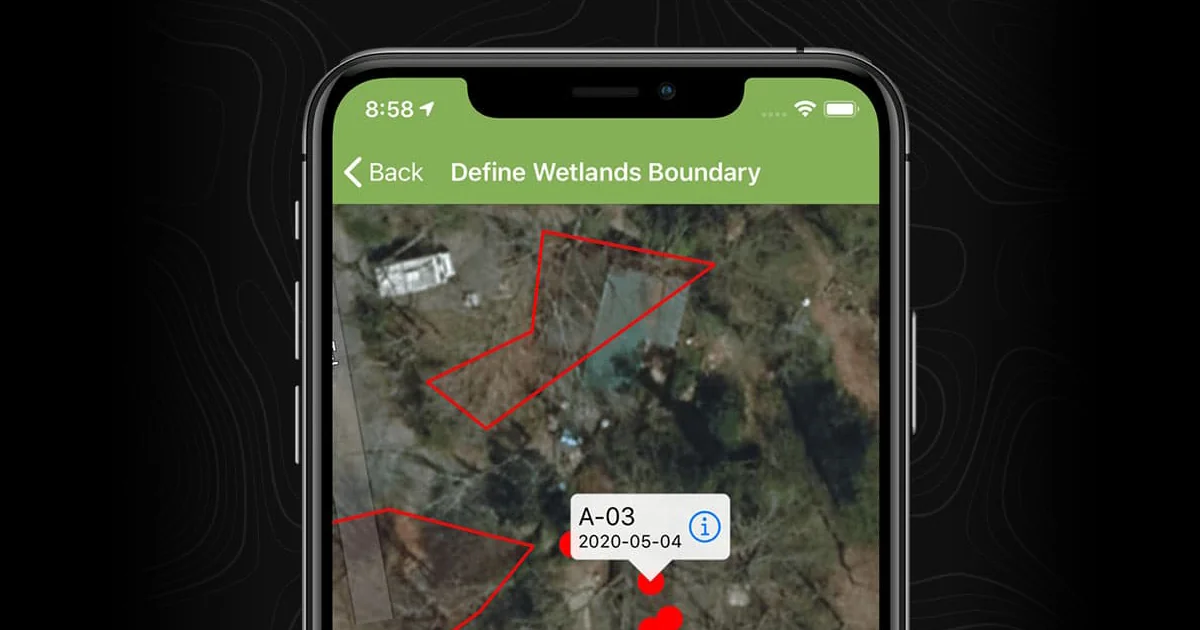
- Add Wetlands Boundary
To add a wetlands boundary to your project, just tap the “Add Wetlands Boundary” button inside a project. Note: If you have not already collected the offline basemap for this project, you’ll be prompted to do so first.
You have an option to walk your wetland boundary and tap the green “Add Point from GPS” button as you go, or switch to touch mode and tap the map to manually draw your wetland boundary.

-
Create Project Files
When you’re back in data coverage or on WiFi, simply tap the “Create Project Files” button to send your data to the cloud. In mere seconds we’ll create your USACE PDF and generate an ArcGIS-ready ZIP file of your shapefiles and project points. -
Drag-and-Drop into ArcGIS Pro
With no manual effort, map features collected in the field can now be dropped directly into ArcGIS Pro, or imported quickly into other GIS software. It’s that easy.